Translated from the video with a few bits of editing:
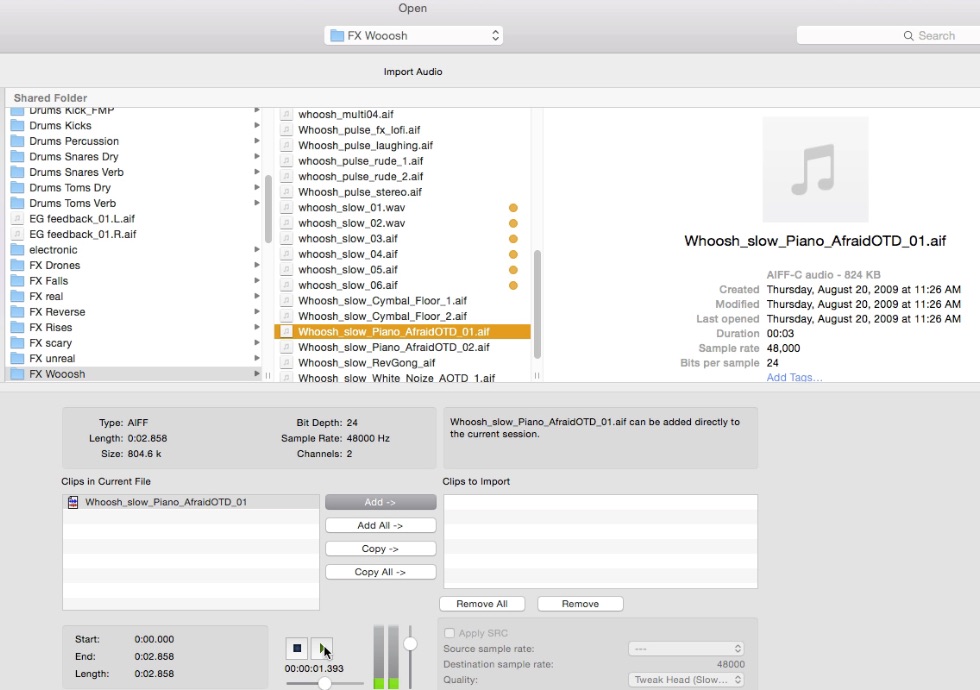
We’re talking about using Snapper for auditioning sounds while working in Pro Tools, and why you may want to do that. Traditionally the way you would import a sample into your Pro Tools session is to go to this little dialog box. Click on samples, and you can hear them:
In this particular case, I’ve got some whoosh samples which many of them don’t actually make any sound for a couple of seconds. If you happen do be doing work like this and auditioning samples that don’t have any sound at the beginning of the sound file, it’s a painfully long process.
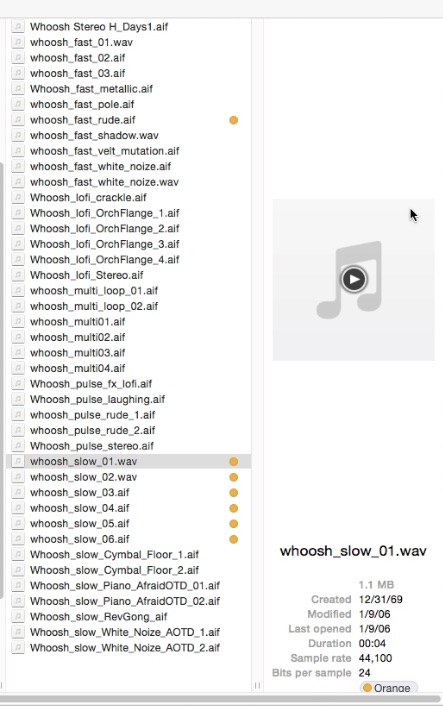
If you go to the actual finder window, we’re kind of stuck in the same boat. With long samples, which we can audition, it can take three seconds to get to the sound. Three seconds may not sound like a lot of time, but if you’ve got a whole bank of these sorts of things, and you’re trying to find exactly the right sample, this can take a long time.
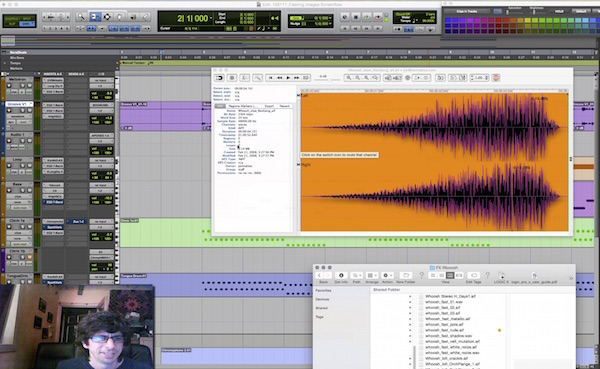
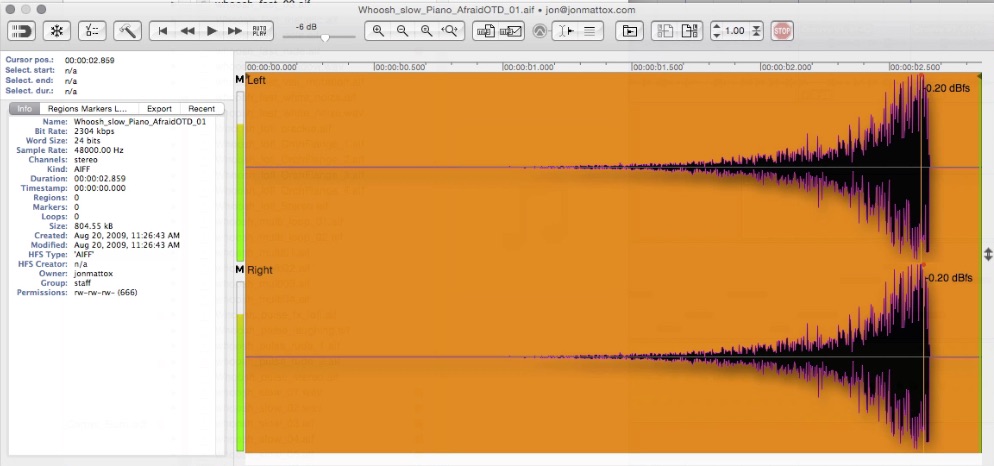
So enter Snapper (applause). When you instantiate it, nothing really happens because it’s not a GUI based app. It basically works in conjunction with your Finder window. Now, when you click on an audio file in your Finder window, Snapper pops up. The great thing is, you can visually see what’s going on in the sample. And you can start playback from anywhere too:
So as you are going through these whoosh samples, you don’t have to wait through all the space in the beginning of the sample. Just get right to the good stuff, and find out which ones may work.
The other great thing about Snapper, for Pro Tools users, is if you have a spot in your session where you want your sample to go, you can spot directly to Pro Tools from the Snapper window which is a great feature. Very helpful!
Thanks for checking out these Pro Tools Tips.


